

You’re gonna love making these Homemade Granola Bars that are so easy and tasty! They’re chewy with a nutty flavor, and you can customize them however you like. Plus, you can whip them up in no time!
Solves stickiness and crumbling by binding oats with natural sweeteners, reduces prep time, and yields easy-to-cut, portable bars for school lunches or quick snacks.
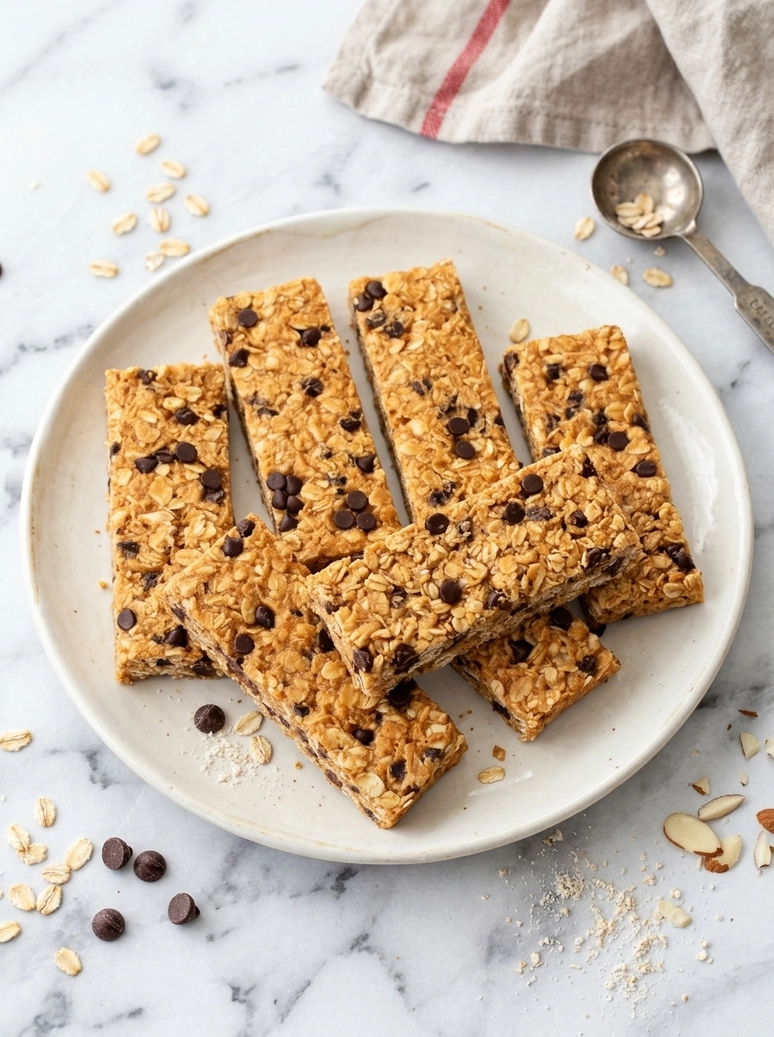
Have you ever bought a granola bar only to find it’s way too crumbly or just doesn’t taste good? I’ve had that problem a lot, and that’s why I started making my own. These bars are a great way to have a healthy snack ready whenever I need it, especially when I crave something sweet.
What’s nice about this recipe is it takes just 5 minutes of prep, and you don’t even need to bake them! You simply mix everything together and let them chill for an hour. That makes it super simple, whether you’re in a hurry or just don’t feel like turning on the oven.
If you’re into trying easy baking recipes, you might also dig my Pumpkin Protein Muffins. They’re another fun way to get something tasty and homemade!
Why You Will Love This Recipe
- Chewy Texture : These granola bars have a satisfying chewiness thanks to the oats and nut butter, making them a delightful snack for any time of day.
- Nuts and Sweetness : With rich nutty flavors and a hint of sweetness from honey and chocolate chips, these bars strike a lovely balance that everyone appreciates.
- No-Bake Convenience : There’s no need for baking, just mix the ingredients and chill. It’s a quick and easy option when you want a homemade treat.
- Storage Flexibility : You can keep these in the fridge for up to a week or freeze them for longer. Grab one anytime for a quick energy boost.
Chewy Homemade Granola Bars Recipe
- Prep Time: 5 minutes
- Cool Time: 1 hour
- Cook Time: 0 minutes
- Total Time: 65 minutes
- Yield: 8 bars 1x
- Category: snack
- Method: no bake
- Cuisine: American
- Diet: gluten free, vegan option available
Description
Simple no-bake homemade granola bars that are healthy and easy to make.
Ingredients
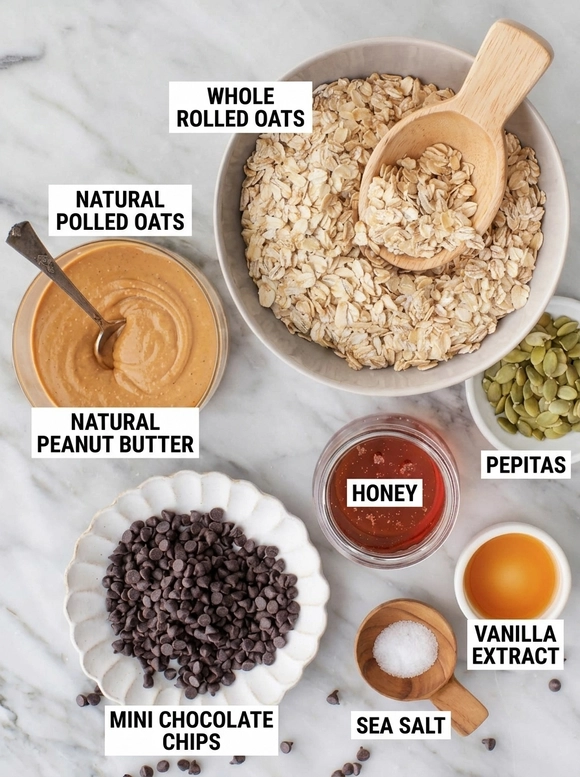
- 1 cup (240g) very smooth creamy natural peanut butter or cashew butter
- 2/3 cup (160g) honey
- 11/2 teaspoon (5ml) vanilla extract
- Heaping 1/21/2 teaspoon (2.5g) sea salt
- 2 1/2 cups (250g) whole rolled oats
- 1/3 cup (60g) mini chocolate chips
- 3 tablespoons (30g) pepitas or crushed peanuts or cashews
Instructions
- **Mix Dry Ingredients**: Start by tossing together the oats, nuts, and seeds in a large bowl. You will notice a nutty aroma wafting up. This mix is where the base flavor comes from, so give it a good stir to combine everything evenly. Be careful not to have any clumps of oats.
- **Stir in Wet Ingredients**: Add your nut butter and honey to the dry mix, stirring until everything is coated evenly. The mixture should feel sticky and cohesive, smelling sweet and nutty. This helps the bars hold together, so make sure it is well combined—no dry patches allowed.
- **Press into Pan**: Transfer your mixture to a lined baking dish and press it down firmly. Use a spatula or your hands to pack it tightly, which will help it stick together once cut. If it feels too loose, you might end up with crumbling bars later.
- **Chill to Firm Up**: Pop the pan into the fridge and let it chill for about 60 minutes. The bars should feel set and firm when done, making them easier to slice later. Do not skip this step; it is key to achieving that tasty, chewy texture.
- **Slice & Store**: Once chilled, lift the bars out and slice them into your desired size. You will notice clean edges and that lovely nutty smell. If they are falling apart, you may need to ensure you used enough nut butter or pressed them firmly enough before chilling. Store in the fridge with parchment paper between layers to keep them fresh.
Notes
- Store in the fridge for up to a week. Alternatively, freeze for up to 2 months. Let frozen bars thaw for 20 minutes before eating.
- Use runny nut butter for the best binding. Do not skip the chilling time to achieve the ideal texture.
- No reheating required.
- Pair with a piece of fruit for a balanced snack. Enjoy with a yogurt dip for extra flavor. Serve alongside your morning coffee or tea.
- Add shredded coconut for tropical flavor. Substitute almonds for the peanuts for a unique twist. Mix in dried cranberries for a tart element.
- For a plant-based option, substitute honey with brown rice syrup or maple syrup. If mini chocolate chips are unavailable, use finely chopped dark chocolate as a substitute.
- If the bars crumble when cutting, having enough nut butter and chilling them for the full time can help maintain their shape. For a cohesive mixture, adding a bit more nut butter or honey can work wonders if it feels too crumbly before pressing. Adjusting the honey or tossing in extra chocolate chips can satisfy a sweeter palate. When preparing, opting for very smooth and runny nut butter makes a difference in ensuring the bars hold together well. If the texture is not quite right, do not skip the chilling step; it is crucial for achieving that chewy consistency you will love.
Nutrition
- Serving Size: 1 bar
- Calories: 350
- Sugar: 1g
- Sodium: 600mg
- Fat: 20g
- Saturated Fat: 7g
- Unsaturated Fat: 10g
- Trans Fat: 0g
- Carbohydrates: 15g
- Fiber: 1g
- Protein: 30g
- Cholesterol: 90mg
Recipe Tips
- If the bars crumble when cutting, having enough nut butter and chilling them for the full time can help maintain their shape.
- For a cohesive mixture, adding a bit more nut butter or honey can work wonders if it feels too crumbly before pressing.
- If a touch more sweetness is desired, adjusting the honey or tossing in extra chocolate chips can satisfy a sweeter palate.
- When preparing, opting for very smooth and runny nut butter makes a big difference in ensuring the bars hold together well.
- If the texture isn’t quite right, don’t skip the chilling step; it’s crucial for achieving that chewy consistency you’ll love.
Serving Suggestions
Serve these homemade granola bars with a piece of fruit for a snack. Enjoy them with yogurt dip or alongside morning coffee or tea.
These bars work well in other recipes like breakfast parfaits or energy bites. They can also be used as toppings for oatmeal or yogurt bowls.
Drizzle with honey or maple syrup for extra sweetness when serving. Consider adding fresh fruit or a sprinkle of cinnamon to enhance the flavor.
Recipe variations
- You can use almond butter instead of peanut butter or cashew butter for a different flavor profile.
- Add ½ cup of shredded coconut to introduce a tropical touch to your homemade granola bars.
- Either substitute almonds or mix in dried cranberries to create unique flavor combinations.
- If you want to scale the recipe, adjust the honey to ½ cup and the oats to 3 cups for a larger batch.
Save This Recipe!
How to Store?
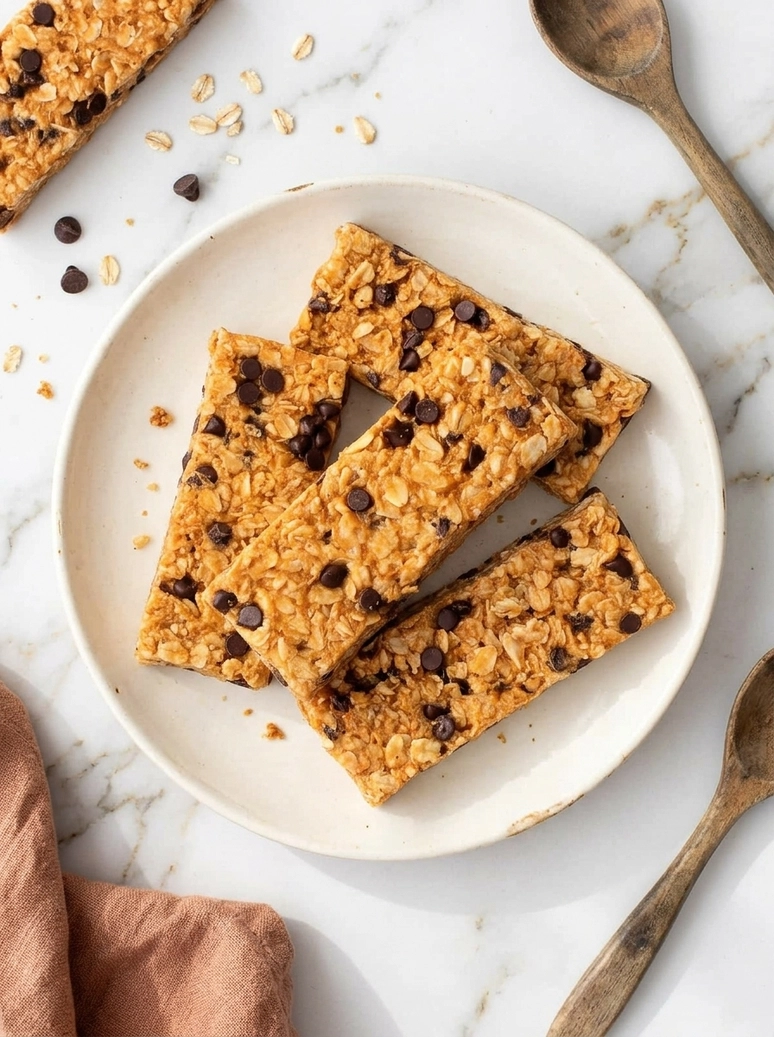
To keep your homemade granola bars fresh, follow these storage tips:
Refrigeration: Place bars in an airtight container in the fridge for up to 7 days. This method retains their chewiness.
Freezing: Wrap each bar in plastic wrap or aluminum foil, then store in a freezer bag. Freeze for up to 2 months. Thaw for 20 minutes before enjoying.
Layering: If stacking bars, separate each layer with parchment paper. This prevents sticking and keeps them intact.
Other Recipes You’ll Love
If you enjoyed this Homemade Granola Bars or any other recipe on my blog, please leave a ⭐ star rating and let me know how it went in the comments below. I appreciate taking time to read about this recipe, thank you!
