
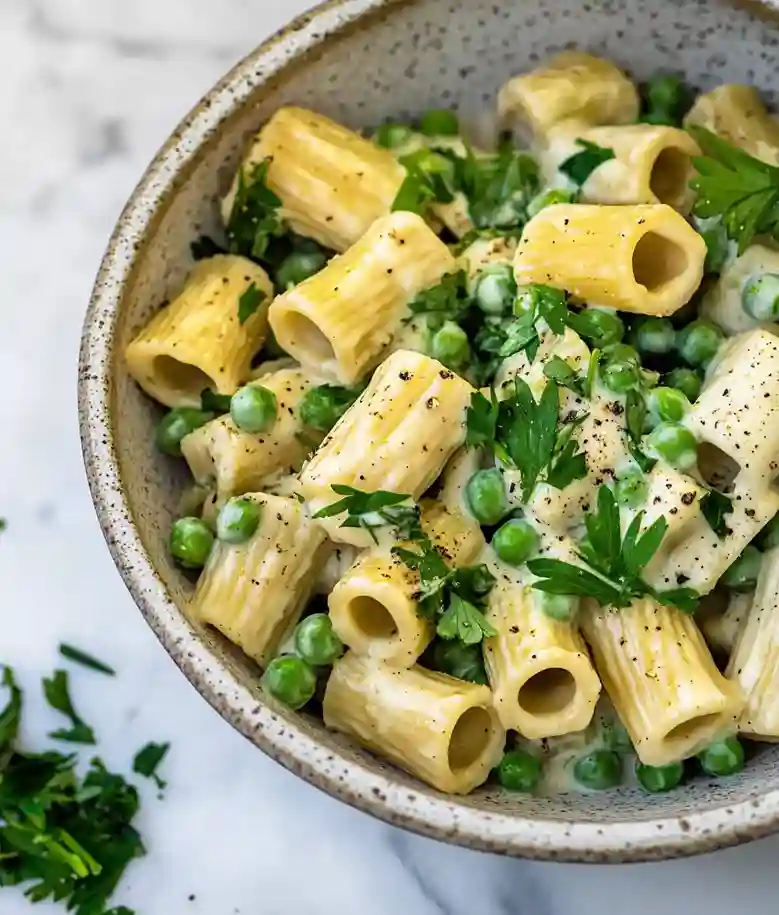
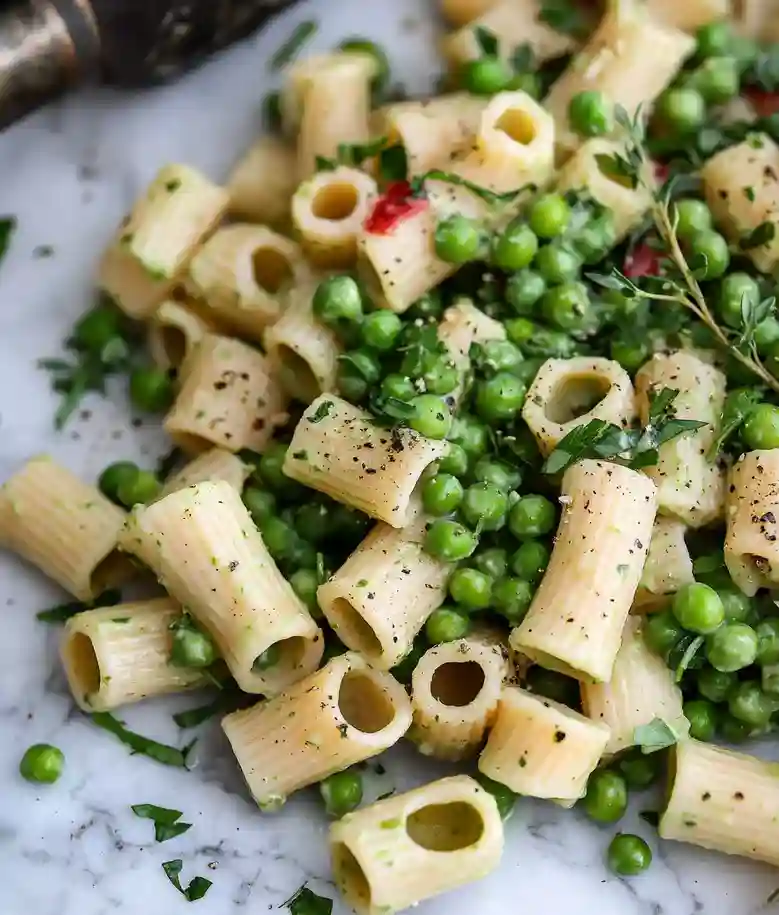
If you’re looking for a light and refreshing dish that screams spring, then you’ve got to try this vegetarian spring pea pasta salad. It’s packed with good-for-you ingredients and is super easy to whip up. Plus, the bright green peas just look so cheerful!
This recipe eases weekday meal planning by offering a fast, meat-free option, uses pantry staples, and stays kid-friendly for stress-free lunches.
I used to struggle with making pasta salads that didn’t end up heavy and soggy. I mean, no one wants mushy peas, right? With this recipe, you only cook the peas for a couple of minutes, which keeps them nice and crunchy.
You can have this delicious salad on your table in just 20 minutes. That’s right, 10 minutes to prep and another 10 to cook. The secret’s in the nutritional yeast that gives it that cheesy flavor without the dairy. And don’t worry, you can use different pasta shapes, so feel free to mix it up!
If you love easy recipes as much as I do, then you’ll enjoy this Air Fryer Pizza that’s perfect for a quick meal.
Why You Will Love This Recipe
- Light & Fresh This pasta salad is packed with vibrant flavors from fresh herbs and a zesty dressing, making it a refreshing dish for warm days.
- Healthy Protein Boost With cannellini beans and peas, it delivers a good amount of plant protein. You won’t miss the meat in this deliciously satisfying salad.
- Quick & Easy You can whip this salad up in just 20 minutes. It’s perfect for a fast weeknight dinner or a last-minute side for a gathering.
- Great for Storage Leftovers keep well in the fridge for up to three days. This makes it a convenient meal prep option that tastes great cold or at room temperature.

Bright and Flavorful Pea Pasta Salad
- Prep Time: 10 minutes
- Cool Time: 15 minutes
- Cook Time: 10 minutes
- Total Time: 35 minutes
- Yield: 6 servings 1x
- Category: Salad
- Method: Boiling and Mixing
- Cuisine: Vegan
- Diet: Vegan
Description
A refreshing vegan pasta salad featuring vibrant green peas and zesty flavors.
Ingredients
- 1 pound pasta (mezze rigatoni or desired shape)
- 1 pound frozen peas
- 2 cloves garlic, peeled and left whole
- 11/2 teaspoon sea salt
- 1/21/2 teaspoon freshly cracked black pepper
- 1/21/2 teaspoon red pepper flakes
- 1/3 cup olive oil
- 15 ounces cannellini beans, drained and rinsed
- 1/2 cup nutritional yeast
- 21/2 teaspoons rice vinegar or plain
- 11/2 teaspoon tamari or soy sauce
- 21/2 teaspoons dijon mustard or whole grain
- 2 large lemons, juiced
- 1 bunch parsley, rinsed well and roughly chopped
- 1 bunch dill, rinsed well and roughly chopped
- 11/2 teaspoon sea salt
- 1/21/2 teaspoon freshly cracked black pepper
- 1/21/2 teaspoon red pepper flakes
- 21/2 teaspoons rice vinegar or plain
- 11/2 teaspoon tamari or soy sauce
- 21/2 teaspoons dijon mustard or whole grain
Instructions
- Cook Pasta & Peas: Start by boiling a pot of salted water and toss in the pasta. When it is almost al dente, add in the peas for just a few seconds. You will know it is ready when the pasta looks firm but not mushy. Strain it immediately to keep everything from cooking too long and losing that nice texture.
- Cool & Rinse: After draining, give the pasta and peas a good rinse under cold water. This stops the cooking process and keeps things fresh and bright. You want to ensure they feel cool to the touch. Remember, skimping on this step might leave your salad warmer than desired.
- Mix Veggies & Cheese: Chop up some fresh veggies and add your dairy-free cheese to the bowl. You will love how colorful and crunchy everything looks together. It is important to use fresh ingredients for the best flavor, so avoid those wilted veggies you might have hanging around.
- Add Seasonings & Lemon: Sprinkle in your salt, pepper, and a generous squeeze of lemon juice. Just mix it all well until everything is coated in that zesty goodness. A common mistake is not adding enough seasoning; be bold here to brighten up the dish!
- Chill & Serve: Let the salad chill in the fridge for about 15 minutes. This allows the flavors to meld together beautifully. You will notice the refreshing smell as the ingredients get acquainted. Do not skip this step, or it might taste a little flat!
Notes
- Storage Tips: Store leftovers in an airtight container in the refrigerator for up to 3 days. Serve cold or at room temperature.
- Expert Tips: If your pasta salad ends up mushy, try to drain the pasta immediately after cooking it to maintain firm texture. For extra brightness in flavor, a1/2 teaspoon of lemon zest can really complement the dish and make it even more refreshing. If the peas become too soft, a quick boil for just 30 seconds with the pasta is all that is needed to keep them vibrant. When using fresh herbs, do not hesitate to add more – a handful of extra parsley or dill can really uplift the flavor. If you find the salad a bit bland, adjusting the seasoning with a pinch of salt or a dash of pepper can make a big difference.
- Reheating Instructions: This salad is served cold, so no reheating is needed.
- Serving Suggestions: Serve with toasted bread on the side. Pair with a light white wine for a refreshing meal. Add roasted vegetables for extra texture and flavor.
Nutrition
- Serving Size: 1 serving
- Calories: 527
- Sugar: 7g
- Sodium: 626mg
- Fat: 14g
- Saturated Fat: 2g
- Unsaturated Fat: 12g
- Trans Fat: 0g
- Carbohydrates: 84g
- Fiber: 12g
- Protein: 20g
- Cholesterol: 0mg
Recipe Tips
- If your pasta salad ends up mushy, try to drain the pasta immediately after cooking it to maintain firm texture.
- For extra brightness in flavor, a teaspoon of lemon zest can really complement the dish and make it even more refreshing.
- If the peas become too soft, a quick boil for just 30 seconds with the pasta is all that’s needed to keep them vibrant.
- When using fresh herbs, don’t hesitate to add more , a handful of extra parsley or dill can really uplift the flavor.
- If you find the salad a bit bland, adjusting the seasoning with a pinch of salt or a dash of pepper can make a big difference.
Serving Suggestions
Serve this vegetarian spring pea pasta salad with toasted bread on the side. Add roasted vegetables for extra texture and flavor.
This salad works well for picnics, barbecues, or potlucks. You can showcase it alongside grilled meats, vegetable skewers, or as a light lunch option.
A light white wine complements this salad nicely. Consider drizzling a simple vinaigrette over it for an added finish.
Recipe variations
- You can use bow tie pasta instead of mezze rigatoni for a fun shape that holds dressing well.
- Add 1 tablespoon of lemon zest for a fresh citrus flavor or 1 teaspoon of smoked paprika for a smoky kick.
- Either toss in roasted cherry tomatoes for sweetness or mix in chopped cucumbers for crunch and freshness.
- If making a larger batch, scale up to 1.5 pounds of pasta and 1.5 pounds of frozen peas for more servings.
Save This Recipe!
How to Store?
To keep your vegetarian spring pea pasta salad fresh, follow these storage tips:
Refrigeration: Store salad in an airtight container in the refrigerator for up to 3 days. Serve it cold or at room temperature.
Freezing: Transfer salad into a freezer bag, squeezing out excess air. Freeze for up to 2 months. Thaw overnight in the refrigerator before serving.
Serving Tips: If you prefer to enjoy immediately after freezing, reheat gently in the microwave. Adjust seasoning as needed.
Other Recipes You’ll Love
If you enjoyed this vegetarian spring pea pasta salad or any other recipe on my blog, please leave a ⭐ star rating and let me know how it went in the comments below. I appreciate taking time to read about this recipe, thank you!