

If you’re looking for a refreshing dish, then vegetarian classic italian pasta salad might just be what you need! This salad is a mix of colorful veggies, pasta, and a zesty dressing that brings everything together.
This recipe solves boring lunches, heavy post-work meals, and wasteful prep by offering quick, cool, portable pasta salad with veggie protein and simple pantry ingredients.
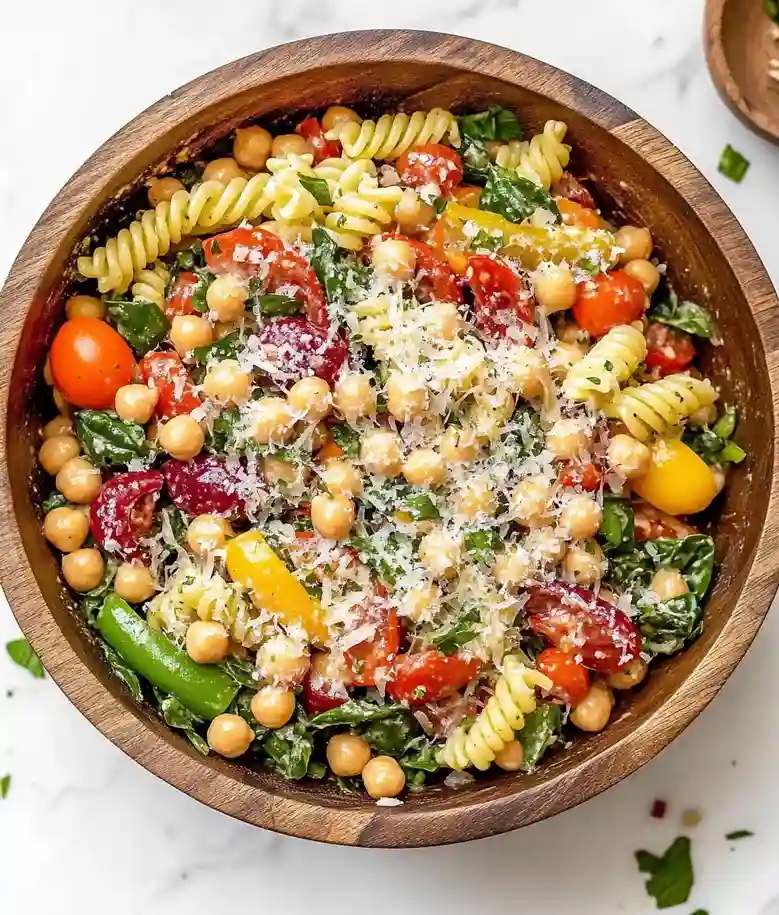
I often struggle to find filling vegetarian meals, especially when I want something light yet satisfying. This pasta salad solves that problem perfectly! You can whip it up in no time, making it great for busy days or gatherings with friends.
What’s great about this recipe is that you can prep it in just 30 minutes and have it ready to eat in 45. The flavors just get better as it sits, so making it ahead of time works out really well. Don’t worry about using processed ingredients either , this salad uses fresh ones instead!
If you like recipes that can be made ahead, then you might also enjoy my Air Fryer Sweet Potato Fries. They’re easy to whip up and super tasty!
Why You Will Love This Recipe
- Fresh and Flavorful The ingredients are all about fresh veggies and zesty flavors. This pasta salad tastes vibrant, bright, and wholesome, making your taste buds happy.
- Convenient Meal Prep You can whip this up ahead of time, and it only gets better as it sits. It’s the ideal dish for busy weeks or gatherings.
- Hearty Yet Light With chickpeas mixed in, you get a nice boost of protein and fiber. It’s satisfying without feeling too heavy, keeping it balanced.
- Easy Storage Leftovers keep well in the fridge for three days. Enjoy it cold or at room temperature, which makes it super practical for lunches.
Vegetarian Italian Pasta Salad
- Prep Time: 30 minutes
- Cool Time: 1 hour
- Cook Time: 15 minutes
- Total Time: 45 minutes
- Yield: 8 servings 1x
- Category: salad
- Method: mixed
- Cuisine: Italian
- Diet: Vegetarian
Description
A refreshing vegetarian Italian pasta salad that combines fusilli pasta, fresh vegetables, and a zesty dressing.
Ingredients
- 1 lb. (450g) fusilli pasta, uncooked
- 1 (15-oz.) (425g) can chickpeas, drained and rinsed
- 1 pint (300g) cherry tomatoes, halved
- 1 cup (150g) thinly sliced mini sweet peppers
- 3/4 cup (90g) sliced pepperoncini peppers
- 3/4 cup (120g) pitted kalamata olives, halved
- 1 cup (100g) grated Parmesan cheese
- 3/4 cup (120g) small cubed provolone or mozzarella cheese
- 2 to 3 cups (60-90g) fresh baby spinach, roughly chopped
- 1/2 cup (120ml) extra-virgin olive oil
- 1/4 cup (60ml) red wine vinegar
- 2 Tbsp. (30ml) pepperoncini brine
- 3 Tbsp. (45g) minced shallots
- 2 garlic cloves, minced
- 2 tsp. dried oregano
- 2 tsp. dried parsley
- 3/4 tsp. kosher salt
- 1/2 tsp. black pepper
- 1 Tbsp. (15g) salt (for cooking pasta)
Instructions
- Cook the Pasta: Start by boiling a large stock pot of salted water. Use about 1 tablespoon of salt per gallon of water. Add the fusilli pasta and cook until al dente, which should take about 8-10 minutes. The pasta should be firm yet tender. Avoid overcooking, as this keeps the pasta from turning too soft later on.
- Rinse & Cool: Once the pasta is cooked, drain it in a colander and rinse under cold water to stop the cooking process. This helps maintain its texture. Allow it to drain well in the strainer.
- Chop the Veggies: While the pasta is cooling, chop the cherry tomatoes, mini sweet peppers, and any other vegetables into bite-sized pieces. Try to keep the pieces similar in size for even texture in each bite.
- Mix Everything Together: In a large mixing bowl, combine the cooled pasta and chopped vegetables. Add in the chickpeas, olive oil, red wine vinegar, pepperoncini brine, minced shallots, minced garlic, oregano, parsley, salt, and pepper. Toss gently to mix everything together without breaking the pasta.
- Chill the Salad: Cover the bowl with plastic wrap or a lid and place the salad in the refrigerator for at least 1 hour. This chilling time allows the flavors to meld and develop.
- Serving & Adjusting: When ready to serve, give the salad a good stir. Taste the salad and adjust the seasoning as needed with extra lemon juice or vinegar for added brightness.
Notes
- Storage Tips: Refrigerate any leftover pasta salad in an airtight container for up to 3 days. Leftovers can be enjoyed either chilled or at room temperature.
- Expert Tips: Cooking the pasta in salted water enhances its flavor significantly. Aim for about 1 tablespoon of salt. Letting the salad sit for 1-2 hours before serving allows all the ingredients to meld beautifully. If your salad tastes bland after chilling, a splash of vinegar or more seasoning can brighten the flavors.
- Reheating Instructions: This salad is best served cold, but if preferred at room temperature, simply let it sit out for 15-20 minutes before serving.
- Serving Suggestions: Serve the pasta salad with crusty bread on the side. It pairs well with grilled vegetables for a complete meal and can also be enjoyed on a bed of fresh greens.
- Recipe Variations: For a gluten-free option, substitute the fusilli pasta with gluten-free fusilli. For a dairy-free option, replace grated Parmesan cheese with nutritional yeast. You can also swap provolone or mozzarella cheese with diced zucchini or artichoke hearts for a veggie-based dish.
- Ingredient Notes: When selecting fresh vegetables, look for vibrant and firm options for the best flavor and texture. If you want to substitute chickpeas, consider additional vegetables or other bean varieties like black beans.
Nutrition
- Serving Size: 1 serving
- Calories: 370
- Sugar: 3g
- Sodium: 810mg
- Fat: 18g
- Saturated Fat: 2g
- Unsaturated Fat: 16g
- Trans Fat: 0g
- Carbohydrates: 47g
- Fiber: 3g
- Protein: 11g
- Cholesterol: 0mg
Recipe Tips
- If pasta turns mushy after storage, rinsing it with cold water right after cooking helps maintain the texture.
- When your salad tastes bland after sitting, giving it a splash of vinegar or additional seasoning can brighten the flavors.
- For an oily salad, adding extra chopped vegetables can help absorb the excess dressing and balance the dish.
- If you want a more flavorful pasta, cooking it in salted water enhances its taste significantly, aim for about 1 tablespoon of salt.
- When prepping the salad, letting it sit for 1-2 hours allows all the ingredients to meld and really develop the flavors.
Serving Suggestions
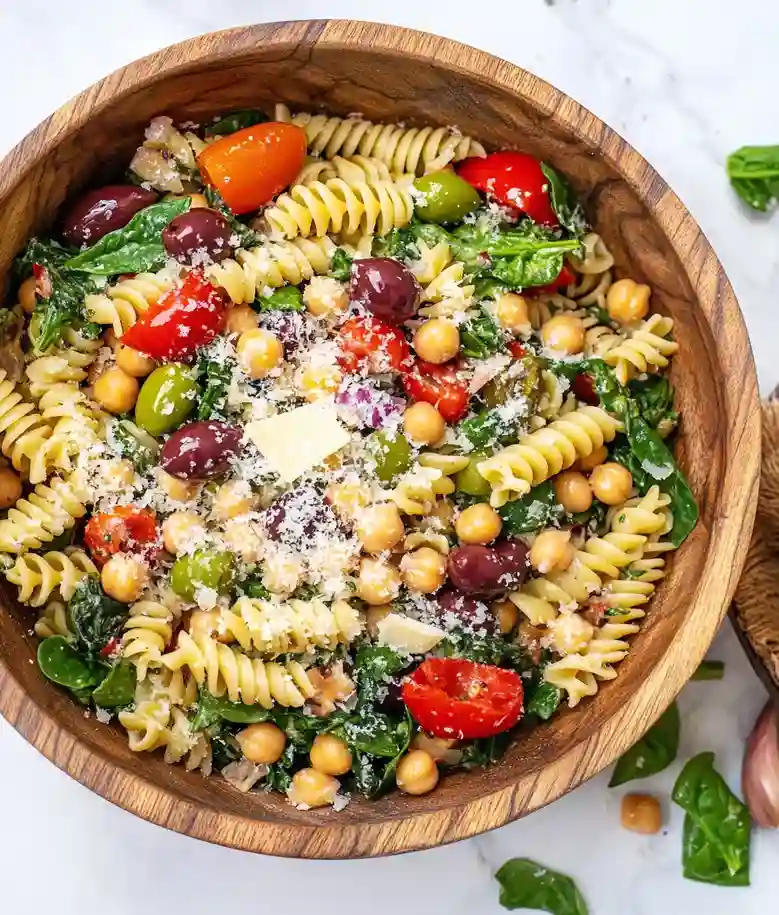
Pair this vegetarian classic Italian pasta salad with crusty bread for a satisfying side dish. Grilled vegetables complement the pasta salad well, creating a complete meal experience.
This pasta salad works great as a filling for wraps or as a topping for baked potatoes. It can also enhance a variety of dishes like grain bowls or summer veggie platters.
Add a drizzle of balsamic glaze or fresh lemon juice for an extra layer of flavor. Consider sprinkling some fresh herbs on top before serving for a refreshing taste boost.
Recipe variations
- You can use penne or rotini pasta in place of fusilli for a different texture in your vegetarian Italian pasta salad.
- Add 1 tsp. crushed red pepper flakes for a little spice or 1 tsp. garlic powder for extra flavor.
- Either diced cucumbers or zucchini can add a refreshing crunch to your salad, providing that extra layer of texture.
- If increasing the recipe, use 2 lbs. of pasta and double the remaining ingredients to serve, maintaining the same ratios.
Save This Recipe!
How to Store?
To keep your vegetarian classic Italian pasta salad fresh, follow these storage tips:
Refrigeration: Store the pasta salad in an airtight container in the fridge for up to 3 days. Enjoy it chilled or at room temperature.
Freezing: For longer storage, place the salad in a freezer-safe bag, removing as much air as possible. Freeze for up to 2 months. Thaw in the refrigerator overnight before serving.
Room Temperature: If serving immediately, keep the pasta salad in a covered dish at room temperature for up to 2 hours. Discard any leftovers afterward.
Other Recipes You’ll Love
If you enjoyed this vegetarian classic italian pasta salad or any other recipe on my blog, please leave a ⭐ star rating and let me know how it went in the comments below. I appreciate taking time to read about this recipe, thank you!
