

If you’re looking to spice up your meals, making refrigerator dill pickles is a great way to do it! These tangy and crisp pickles pack a punch of flavor, plus they’re super easy to whip up.
Solves boring snack options, lengthy pickle processes, and equipment-heavy methods by offering quick, fridge-only dill pickles with minimal ingredients and simple steps.
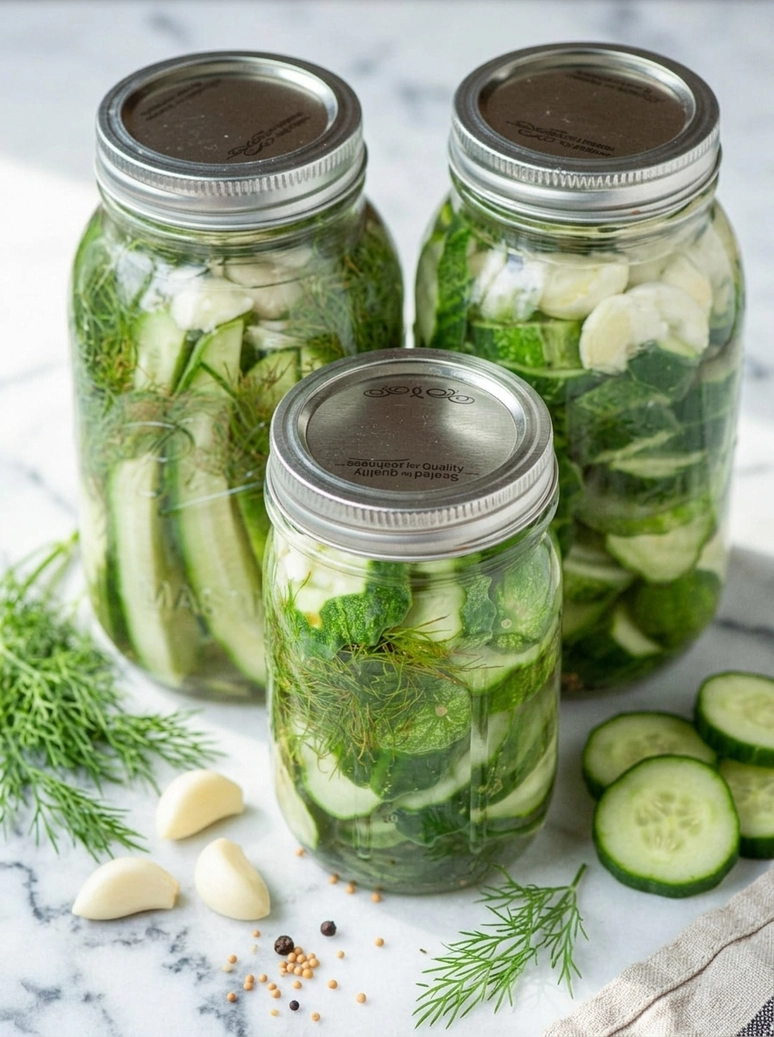
I used to worry about getting pickles just right, especially when I thought about the long canning process. It felt so complicated! But with this recipe, you can have homemade pickles ready to munch on in no time.
These refrigerator dill pickles are ready overnight, so you won’t be waiting around for ages to give them a try. It takes just 10 minutes to prep and 5 minutes to cook, making it a quick kitchen project that anyone can tackle.
If you love adding a zesty touch to your meals, give these a go! If you also enjoy baking, check out my Recipe Name for something fun to whip up alongside your pickles.
Why You Will Love This Recipe
- Crisp Texture : These pickles are crunchy and refreshing, giving you that satisfying crunch that store-bought ones often lack.
- Tangy Flavor : The flavorful brine enriches the freshness of the cucumbers, creating a tangy and savory kick that brightens up any dish.
- Hassle-Free : With no canning required, this recipe lets you enjoy homemade pickles without the fuss, making it a breeze to whip up.
- Long Storage : You can keep these pickles in the fridge for 4-6 weeks, so there’s always a tangy snack ready when you need it.
Homemade Easy Refrigerator Dill Pickles
- Prep Time: 10 minutes
- Cool Time: 24 hours
- Cook Time: 5 minutes
- Total Time: 35 minutes
- Yield: 18 servings 1x
- Category: Refrigeration
- Method: Refrigeration
- Diet: Vegetarian
Description
Easy Refrigerator Dill Pickles are a quick, tangy, and crunchy delight perfect for summer snacking.
Ingredients
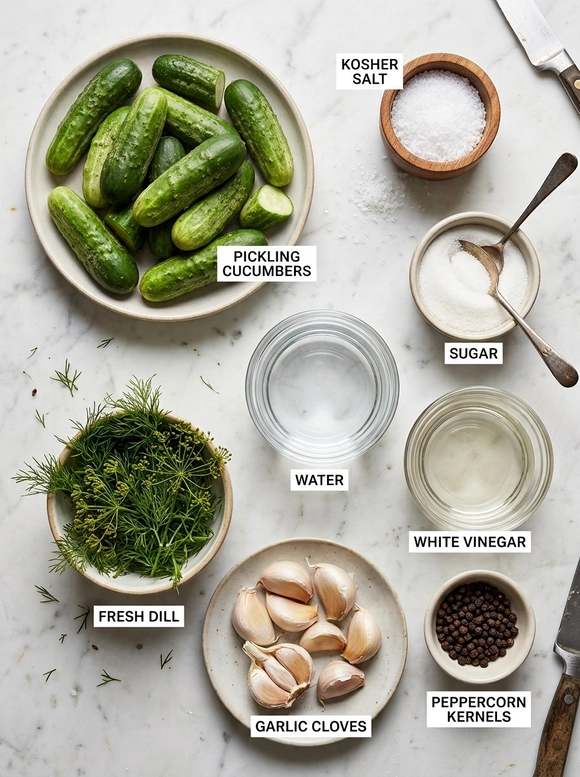
- 12 (1 kg) pickling cucumbers, washed and scrubbed
- 4 cups (1 L) water
- 2 cups (475 mL) white vinegar
- 2 tablespoons (30 g) kosher salt
- 11/2 teaspoon (5 g) sugar
- 1 bunch (30 g) fresh dill
- 1 head (approx. 10 g) garlic, cloves smashed
- 1 tablespoon (10 g) peppercorn kernels
Instructions
- Prepare Your Cucumbers: Start by rinsing your cucumbers thoroughly. Give them a good scrub under running water, making sure to remove any dirt. Just a tip—do not use soft cucumbers since they will not give you a satisfying crunch in the final pickles.
- Make the Brine: Combine white vinegar, water, and kosher salt in a medium saucepan over medium heat. Stir until the salt dissolves completely and the mixture starts to steam, filling your kitchen with a tangy aroma. This is your base for the pickles, so mix well. Watch out—too much heat can cause your brine to boil away.
- Add Flavorings: Toss in your fresh dill, smashed garlic cloves, and peppercorns into the brine. Stir them in and let it simmer for a few minutes, allowing the scents to mingle and enhance the flavor. Be cautious with adding too many spices, as they can overpower the fresh taste of the cucumbers.
- Pack the Jars: Layer your cucumbers into the mason jars. Pack them tightly but ensure there is enough wiggle room. You want to see those vibrant greens peeking out. A common mistake is cramming them in, which can lead to uneven brining.
- Pour in the Brine: Carefully pour the brine over the cucumbers until they are fully submerged. The brine should shimmer beautifully as it fills the jar. This step is crucial for flavor infusion, so take your time. If any cucumbers are poking out, they may not soak up the wonderful briny goodness.
- Seal & Refrigerate: Cap the jars tightly and place them in the refrigerator. Let them sit for at least 24 hours before digging in; skipping this step will not allow your pickles to absorb all those lovely flavors.
Notes
- Storage Tips: Store in the refrigerator in tightly capped mason jars for 4-6 weeks.
- Expert Tips: If pickles are too salty after brining, consider using less salt next time or adding extra water to the brine.
- For crunchy pickles, always use pickling cucumbers.
- If brine does not cover the cucumbers completely, make extra brine or pack the cucumbers less tightly.
- Refrigerator dill pickles do not require reheating; simply enjoy them cold from the fridge.
- Serve alongside sandwiches as a crunchy side or include in a charcuterie board. Can also be chopped and mixed into potato or ham salad for added crunch.
- Consider adding sliced carrots or green beans to the brine for variety. Use different types of vinegar for varied flavors or include red pepper flakes for some heat if desired.
- For the freshest taste, select firm pickling cucumbers. Use only fresh dill and garlic to achieve robust flavors in your pickles. Any soft or overripe cucumbers should be avoided to ensure a pleasant crunch in the final pickles.
Nutrition
- Calories: 26
- Sugar: 2g
- Sodium: 781mg
- Fat: 0g
- Saturated Fat: 0g
- Unsaturated Fat: 0g
- Trans Fat: 0g
- Carbohydrates: 3g
- Fiber: 1g
- Protein: 1g
- Cholesterol: 0mg
Recipe Tips
- If pickles are too salty after brining, consider using less salt next time or adding extra water to the brine.
- When pickles turn out mushy, using pickling cucumbers is key for that satisfying crunch.
- For an even brine coverage, making extra brine or packing the cucumbers loosely can really help.
- If looking for extra flavor, think about adding garlic cloves or mustard seeds to the mix for a tasty twist.
- For fun shapes, a crinkle cutting tool can add a nice touch to the presentation of your refrigerator dill pickles.
Serving Suggestions
Refrigerator dill pickles pair well with sandwiches and offer a crunchy side dish. They also enhance charcuterie boards and can be chopped into potato or ham salad.
Consider adding these pickles to summer picnics or barbecues for a refreshing snack. They complement various dishes and provide a tangy crunch alongside grilled meats.
Drizzle olive oil and sprinkle herbs over the pickles before serving for added flavor. A touch of garlic can further elevate the taste profile as well.
Recipe variations
- You can use zucchini or radishes in place of the pickling cucumbers for a unique twist on your refrigerator dill pickles.
- Add 1 teaspoon of red pepper flakes for some heat and a delightful kick to your pickles.
- Either sliced carrots or green beans can be added to the brine, giving your pickles extra crunch and flavor.
- If you want to make a larger batch, simply multiply the ingredients by two, using 24 pickling cucumbers, 8 cups of water, and so on.
Save This Recipe!
How to Store?
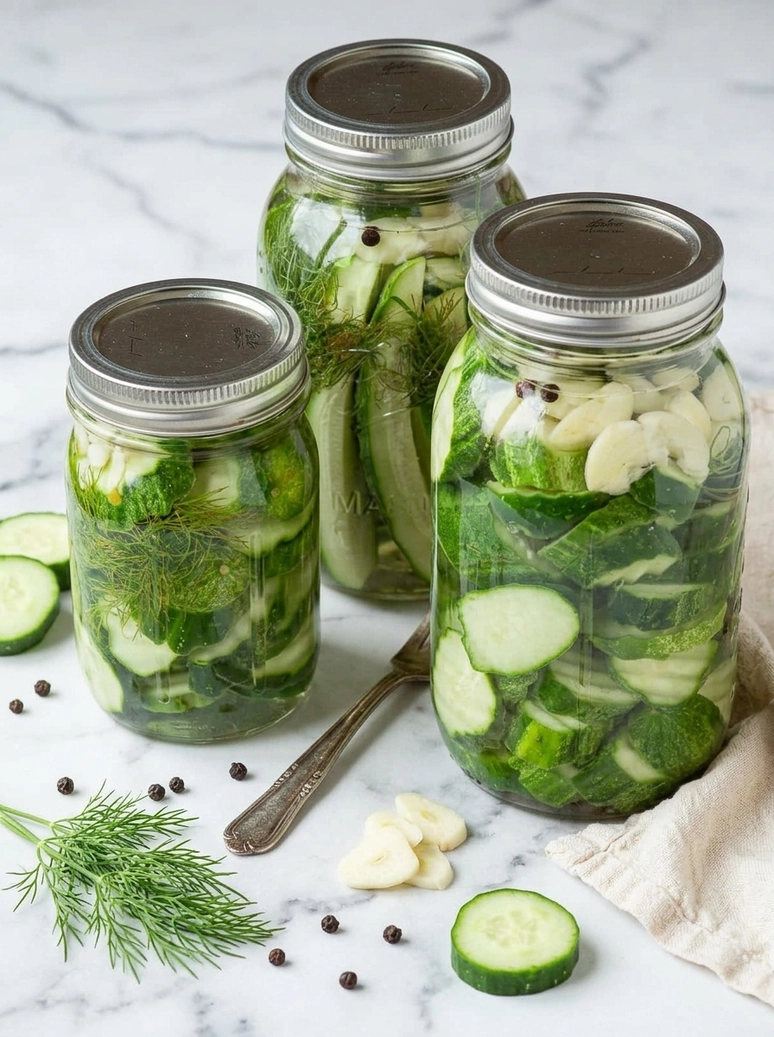
To keep your refrigerator dill pickles fresh, follow these storage tips:
Refrigeration: Store pickles in an airtight container in the refrigerator for up to 6 weeks. Keep the brine submerged.
Freezing: Place pickles in a freezer bag, remove excess air, and seal. Freeze for up to 3 months. Thaw in the refrigerator before use.
Brining: Keep the brine in an airtight jar with the cucumbers at room temperature for up to 24 hours. Refrigerate afterward.
Other Recipes You’ll Love
If you enjoyed this Refrigerator Dill Pickles or any other recipe on my blog, please leave a ⭐ star rating and let me know how it went in the comments below. I appreciate taking time to read about this recipe, thank you!
