
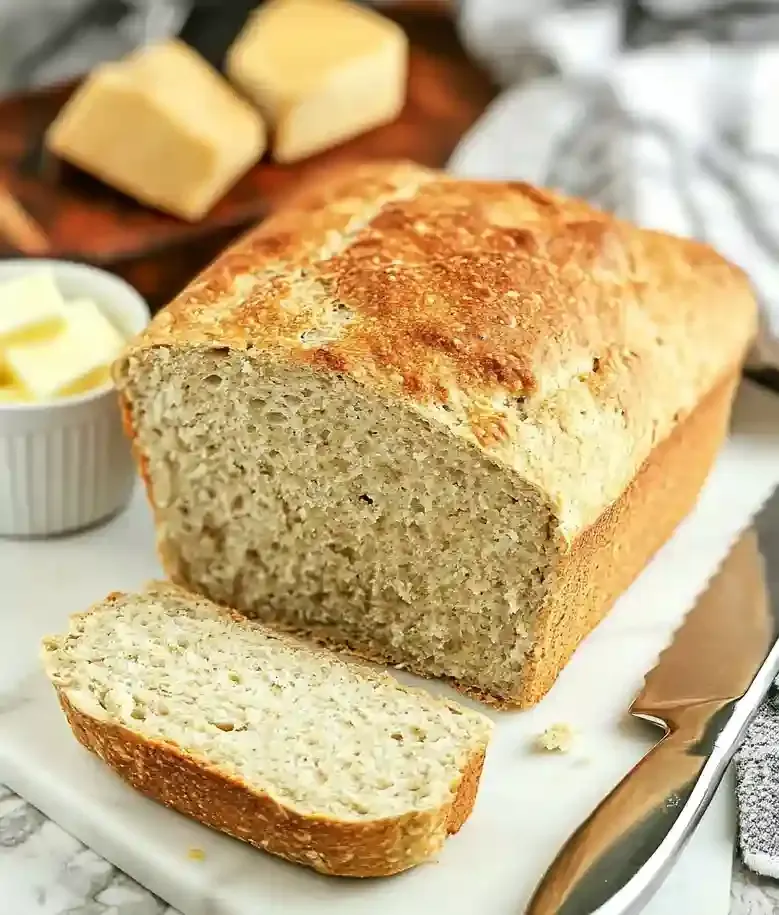
There’s something special about the smell of fresh-baked oatmeal bread wafting through the house. It can make any kitchen feel cozy and inviting. With this recipe, you can create your own warm loaf full of nutty goodness.
This recipe helps overcome dense texture, inconsistent crumb, heavy dough, long-rise timing, and dry slices by using simple steps, measured ingredients, and steady kneading guidance.
I know how tough it can be to find recipes that fit my dietary needs while still being friendly for my family’s gluten allergies. This oatmeal bread is not only safe for them, but it also offers that nice texture and flavor everyone loves. I want to share this bread with friends, knowing they won’t even miss the gluten.
This recipe is simple and quick, taking just about an hour from start to finish. You only need a handful of easy-to-find ingredients. Because I’ve learned a few tips along the way, like making sure the water is the right temperature for the yeast, the bread always turns out well.
If you enjoy baking as much as I do, you might also like to try this Oatmeal Banana Bread for a sweet twist on oat-based recipes. You won’t regret it!
Why You Will Love This Recipe
- Comforting Flavor : This oatmeal bread brings back those warm, childhood memories with its soft, nutty, and slightly sweet taste that feels like a cozy hug.
- Nice Chewy Texture : You’ll love the slight chewiness from the rolled oats, adding a delightful twist to your regular bread experience without being overwhelming.
- Convenient Storage : It’s really easy to keep this bread on hand; it stays fresh for a couple of days at room temperature or can be frozen for longer enjoyment.
- Simple Ingredients : You won’t need to hunt for crazy ingredients, just some pantry staples are all it takes to whip up this delightful bread.
Homemade Oatmeal Bread Recipe
- Prep Time: 20 minutes
- Cool Time: N/A
- Cook Time: 40 minutes
- Total Time: 1 hour
- Yield: 16 servings 1x
- Category: bread
- Method: baking
- Cuisine: N/A
- Diet: vegetarian
Description
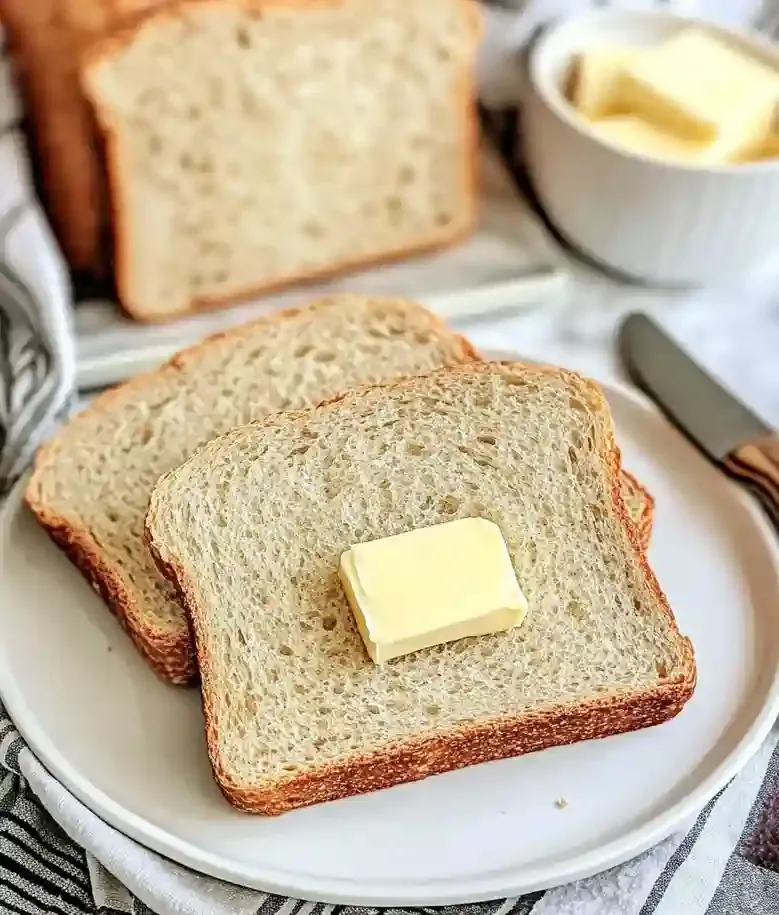
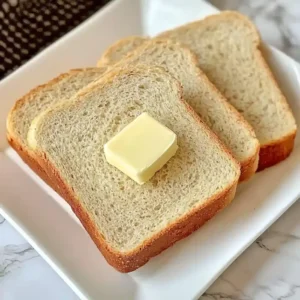
A classic oatmeal bread recipe that is nutritious and easy to make, perfect for sandwiches or to enjoy with butter.
Ingredients
- 1 cup (90g) oatmeal (regular, not quick oats)
- 1 cup (240ml) boiling water
- 1/2 cup (120ml) warm water (about 110 degrees F)
- 2 1/41/2 teaspoons (7g) dry active yeast (1 envelope)
- 2 1/2 cups (315g) all-purpose flour
- 2 tablespoons (30g) brown sugar
- 11/2 teaspoon (6g) salt
- 2 tablespoons (30g) butter, cut into about 12 pieces, plus more for greasing the bowl and pan
Instructions
- Mix Ingredients Together: Start by mixing the oats, flour, yeast, and salt in a bowl until well combined. You will notice a nutty aroma wafting up as you stir. It is important to mix them well to ensure even distribution of the yeast, so you do not end up with uneven rising spots.
- Add Warm Liquid: Pour in the warm water slowly while stirring your mixture. The warmth helps activate the yeast, and the mix will start to come together. Make sure the water’s not too hot; otherwise, it might kill the yeast, which is a common mishap.
- Knead The Dough: Transfer the mixture onto a lightly floured surface and start kneading. You will want to work it for a good amount of time until it feels smooth and elastic, about 8 to 10 minutes. If it gets too sticky, do not hesitate to sprinkle a little more flour.
- Let The Dough Rise: Place the kneaded dough in a greased bowl and cover it with a cloth. Let it rise in a warm spot until it doubles in size, which usually takes about an hour. The dough will feel puffy when it is ready; keeping it covered is key so it does not dry out.
- Shape The Dough: After rising, punch down the dough gently to remove air bubbles, then shape it into a loaf. You will notice its elasticity as you form it. Be careful not to overwork it during this step as that can lead to a denser loaf.
- Final Rise Before Baking: Place the shaped loaf in a greased pan and cover it again for another rise. Give it about 30 minutes until it puffs up. It is crucial to let it rest; rushing this step might result in a loaf that is not fluffy.
- Bake The Bread: Preheat your oven and pop the pan in once it is at the right temperature. You will smell that lovely, warm bread scent filling your kitchen. Keep an eye on the baking time, as too long can lead to a crust that is a bit hard.
- Cool & Slice: After baking, take the bread out and let it cool in the pan for a few minutes, then transfer it to a wire rack. Cooling is important to keep the crust from getting soggy. It is tempting to slice it right away, but waiting helps with nicer cuts. Enjoy!
Notes
- Storage Tips: Keep your oatmeal bread at room temperature in a plastic bag for up to 2 days. For longer storage, wrap well and freeze for up to 2-3 months, ensuring it is cooled to room temperature first.
- Expert Tips: Use a kitchen thermometer to check the temperature of the warm water for yeast activation.
- Let dough rise in a warm location at around 80-85 degrees F for optimal results.
- If dough does not stick when rolling, a bit of water can help it adhere.
- Reheating Instructions: To reheat, place slices in a toaster or microwave on low until warmed through.
- Serving Suggestions: Serve warm with salted butter. Pair with honey or jam. Enjoy with a hearty soup on a chilly day.
- Recipe Variations: Add raisins for a sweeter touch. Sprinkle with nuts before baking for added crunch. Incorporate cinnamon for a spiced version.
- Ingredient Notes: Use fresh yeast to ensure proper activation. Measure flour accurately to avoid a dense loaf. Monitor baking closely to prevent over-browning of the crust.
Nutrition
- Serving Size: 1 slice
- Calories: 101
- Sugar: 1g
- Sodium: 146mg
- Fat: 2g
- Saturated Fat: 1g
- Unsaturated Fat: 0g
- Trans Fat: 0g
- Carbohydrates: 18g
- Fiber: 1g
- Protein: 3g
- Cholesterol: 4mg
Recipe Tips
- If the yeast seems inactive, check the warm water; it should be between 110ºF to 115ºF for best results.
- When letting the dough rise, a temperature around 80-85ºF can help it rise properly without cooling down too quickly.
- If rolling out the dough proves tricky, applying a small amount of water can help achieve the right consistency and make it easier to work with.
- For a lighter loaf, make sure to measure your flour accurately; too much flour can make the bread dense.
- When baking, keeping an eye on the crust is essential; if it seems to brown too quickly, lowering the oven temperature can save your loaf.
Serving Suggestions
Serve this oatmeal bread warm with salted butter. Pair it with honey, jam, or enjoy it alongside a hearty soup.
This bread can be used in various recipes such as sandwiches or as a base for breakfast toast. It also makes a great accompaniment for family gatherings or as a snack option.
Consider spreading a light layer of almond butter on top for added flavor. You may also drizzle a bit of honey for a touch of sweetness.
Recipe variations
- You can use whole wheat flour instead of all-purpose flour for a heartier oatmeal bread.
- Add 1 teaspoon of cinnamon for a warm, spiced flavor that complements the oats beautifully.
- Either sprinkle nuts or raisins on top before baking for an added crunch or sweetness.
- If you want to make a larger batch, double the ingredients to create two loaves instead of one.
Save This Recipe!
How to Store?
To keep your oatmeal bread fresh, follow these storage tips:
Room Temperature: Store the bread in a plastic bag at room temperature for up to 2 days after baking.
Refrigeration: If you require extended storage, place the bread in an airtight container in the refrigerator for up to 1 week.
Freezing: For long-term storage, wrap the cooled bread tightly in aluminum foil and freeze for up to 2-3 months. Thaw at room temperature before serving.
Other Recipes You’ll Love
If you enjoyed this oatmeal bread or any other recipe on my blog, please leave a ⭐ star rating and let me know how it went in the comments below. I appreciate taking time to read about this recipe, thank you!