

If you’re looking for an easy and fun treat for Halloween, these mummy cookies are perfect for all ages! Imagine a delicious, chocolatey cookie that’s as cute as it is tasty. They’re a great way to get into the spooky spirit without spending hours in the kitchen.
It solves the need for an oven, long prep times, and messy cleanup by delivering a quick, simple, kid-friendly treat with minimal effort.
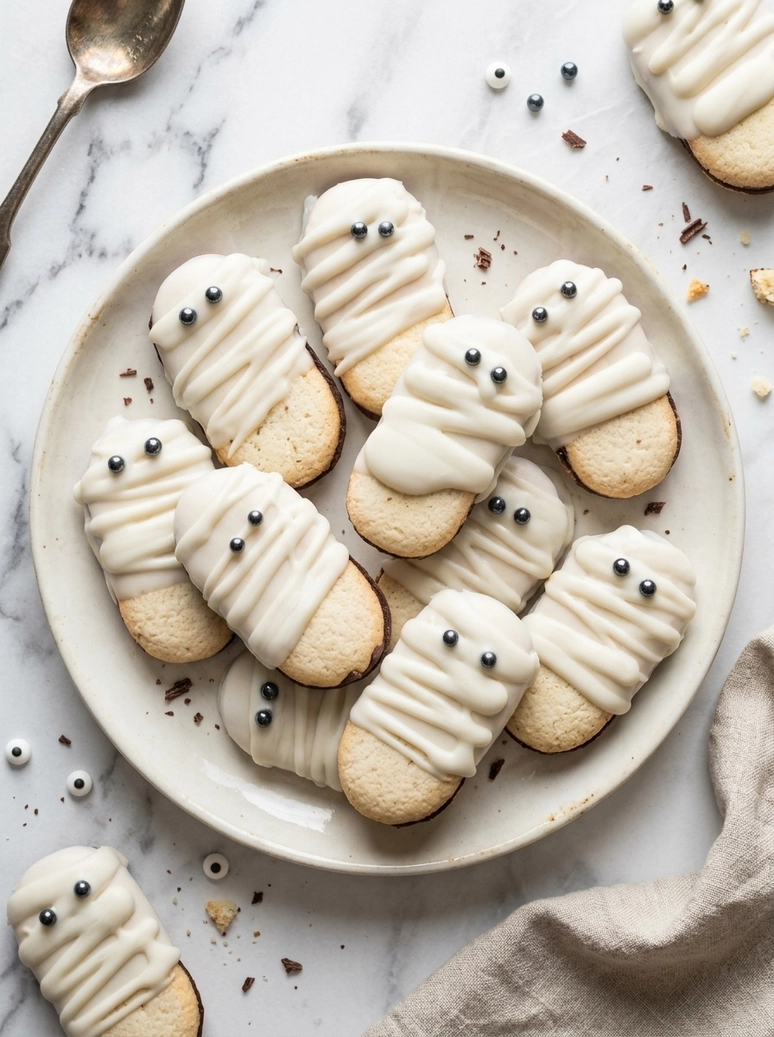
I always struggle a bit around Halloween because it seems like there’s so much to do. Between costume planning and decorations, finding time to whip up cute snacks can be a challenge. That’s why I love this mummy cookies recipe, it’s quick and simple, making it easier for both me and the kids to get involved.
These cookies come together in just about 20 minutes and require no baking at all! Seriously, you can prepare them in no time, which is great when you’re busy but still want to celebrate the holiday. Plus, they can be customized with different sprinkles to make each one unique.
If you need another fun recipe to try, how about making some festive cupcakes? If you want to impress your friends and family with an adorable dessert, you can check out my Chocolate Vanilla Pinwheels!
Why You Will Love This Recipe
- Sweet & Creamy Flavor : These mummy cookies are a fun combination of sweetness and creaminess, thanks to the chocolate and white chocolate melts. Kids will love the taste.
- No-Bake Convenience : There’s no baking involved, so you can whip these up in just 20 minutes. It’s a quick, festive treat that even the little ones can help with.
- Customizable Sprinkles : You can easily switch up the sprinkles or candy eyes to suit your own Halloween vibe. It’s a great way to personalize your treats.
- Good Storage Life : These cookies stay fresh for about 5-6 days when stored properly. You can make them ahead of your Halloween plans without worrying they’ll go stale.

Cute No Bake Milano Mummies
- Prep Time: 20 minutes
- Cool Time: 0 minutes
- Cook Time: 0 minutes
- Total Time: 20 minutes
- Yield: 15 cookies 1x
- Category: dessert
- Method: no-bake
- Cuisine: American
- Diet: Vegetarian
Description
Delicious no-bake Mummy Milano Cookies decorated with white chocolate and candy eyes, perfect for Halloween parties.
Ingredients
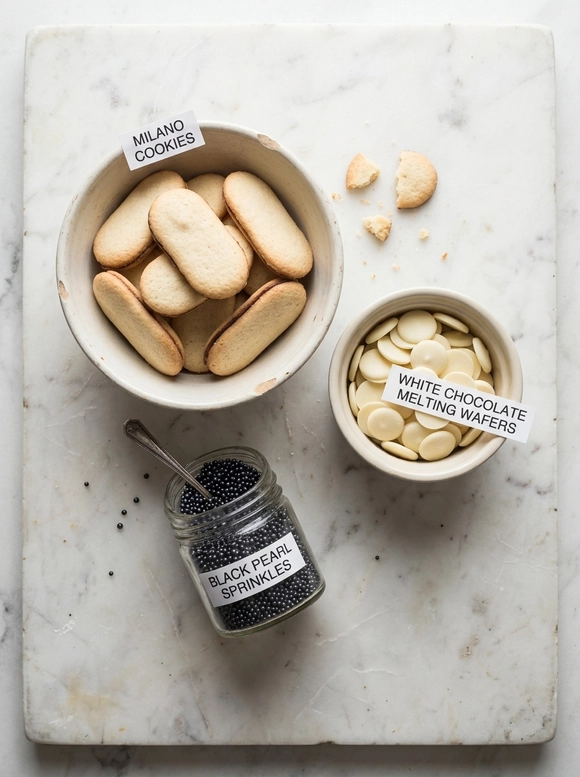
- 1 (6 or 7 ounce) package Milano cookies
- 10 ounces white chocolate melting wafers or almond bark
- black pearl sprinkles or candy eyes
Instructions
- Scoop & Shape Dough: Start by scooping your cookie dough into small balls. You will want them to be about the size of a tablespoon. Roll them gently in your hands until they are smooth. Be careful not to overwork the dough or the cookies might turn out tough after baking.
- Bake Cookies for Structure: Pop those cookie balls into a preheated oven and let them bake until they are golden. The aroma will fill your kitchen. Just do not overbake them; they should look soft but set when you take them out.
- Melt Chocolate Carefully: While the cookies cool, melt your white chocolate in the microwave. Stir it every so often to keep it from getting too hot or clumpy. It should be smooth and shiny when done. Quick tip: if it starts thickening, a little zap in the microwave can fix that.
- Dip & Decorate Cookies: Once the chocolate is ready, dip each cookie halfway and let any excess drip off. You want that beautiful, glossy finish! Remember to add your candy eyes while the chocolate is still wet so they stick properly.
- Let Cool & Set: After decorating, let your cookies sit until the chocolate hardens. You will know they are ready when it feels firm to the touch. Be cautious not to move them too soon, or you might smudge the design.
- Enjoy with Friends!: Once set, these mummy cookies are ready to be shared! The contrast of soft cookie and creamy chocolate makes for a fun treat. Keep them stored in a cool place so they stay fresh for your friends or family members who will love them.
Notes
- Storage Tips: Dipped cookies keep well tightly covered at room temperature or in the refrigerator for 5-6 days. Avoid storing near the stovetop or any other warm place where the chocolate could soften or melt.
- Expert Tips: Use a high-quality white chocolate for best results. Work quickly when dipping and drizzling as white chocolate hardens fast. If you notice the white chocolate is hardening too soon, give it a quick 10-15 second microwave burst and stir until smooth. When drizzling the chocolate, doing so right after melting will help the sprinkles adhere better and prevent them from sliding off. If the chocolate layer feels too thick or bumpy, another dip in warm chocolate can help achieve a smoother finish without starting over.
- Reheating Instructions: There is no reheating needed for these no-bake cookies.
- Serving Suggestions: Pair with hot chocolate for a festive snack. Serve at Halloween-themed parties or gatherings. Include in treat bags for trick-or-treaters.
- Recipe Variations: You can use dark chocolate instead of white if desired, though it will alter the appearance and taste. Add food coloring to the white chocolate for fun hues. Try different flavored melting wafers like strawberry. Create a chocolate drizzle with milk chocolate on top.
- Ingredient Notes: When preparing these treats for little ones, have extra sprinkles on hand for decoration; kids love to customize their mummies! If you cannot find Milano cookies, you can substitute any similar cookies that do not have peanuts, like vanilla wafers.
Nutrition
- Serving Size: 1 cookie
- Calories: null
- Sugar: null
- Sodium: null
- Fat: null
- Saturated Fat: null
- Unsaturated Fat: null
- Trans Fat: null
- Carbohydrates: null
- Fiber: null
- Protein: null
- Cholesterol: null
Recipe Tips
- If you notice the white chocolate is hardening too soon, give it a quick 10-15 second microwave burst and stir until smooth.
- When drizzling the chocolate, doing so right after melting will help the sprinkles adhere better and prevent them from sliding off.
- If the chocolate layer feels too thick or bumpy, another dip in warm chocolate can help achieve a smoother finish without starting over.
- For the best appearance and taste, opt for high-quality melting chocolate and microwave it at half power to avoid overheating.
- When preparing these treats for little ones, have extra sprinkles on hand for decoration; kids love to customize their mummies!
Serving Suggestions
These mummy Milano cookies serve well with hot chocolate, making them a festive snack choice. They are excellent at Halloween parties, school gatherings, or fall festivals, enhancing any celebration.
Consider using these cookies in treat bags for trick-or-treaters to add a fun touch. These cookies also work well as an accompaniment to themed desserts or as a sweet treat for friends.
You can drizzle some melted chocolate over the cookies for added decoration. A sprinkle of colored sugar or edible glitter gives an extra festive look to these treats.
Recipe variations
- You can use any brand of sandwich cookies in place of Milano cookies for a different taste and texture.
- Add 1 teaspoon of vanilla extract to the melting wafers for a pop of flavor that complements the sweetness.
- Either use colored sugar or edible glitter instead of black pearl sprinkles for a festive touch, or opt for candy eyes to add personality.
- If you’re making a larger batch, increase the Milano cookies to 12 ounces and the white chocolate to 12 ounces for optimal coating.
Save This Recipe!
How to Store?
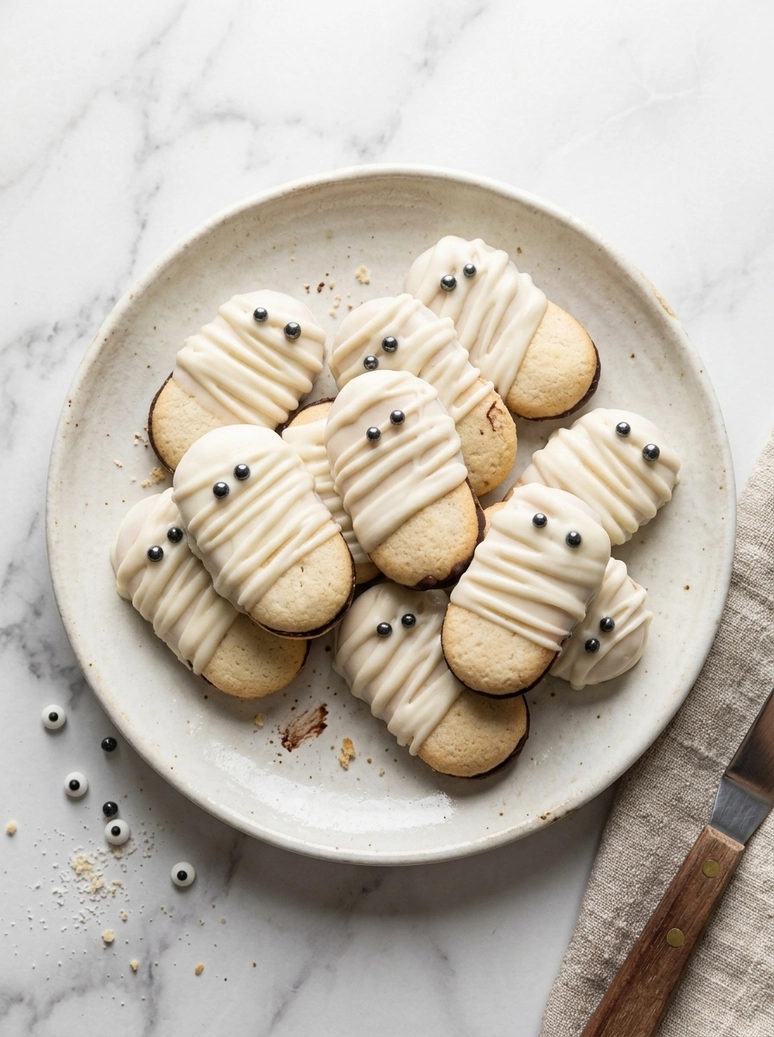
To keep your mummy Milano cookies fresh, follow these storage tips:
Room Temperature: Place dipped cookies in an airtight container at room temperature for up to 6 days. Keep them away from heat.
Refrigeration: Store cookies in an airtight container in the refrigerator for up to 6 days. This method helps maintain freshness.
Freezing: Wrap cookies tightly in plastic wrap, then place in a freezer bag. Freeze for up to 3 months. Thaw at room temperature before serving.
Other Recipes You’ll Love
- Finnish Apricot Pinwheel Cookies
- Chocolate-Vanilla Pinwheels
- Apricot Kolacky Cookies
- Apricot Cream Cheese Cookies
If you enjoyed this Mummy Milano Cookies or any other recipe on my blog, please leave a ⭐ star rating and let me know how it went in the comments below. I appreciate taking time to read about this recipe, thank you!
